I may have been in the dark all these years, and it is possible everyone else knows these tricks, but I am so stoked at how cool my pumpkin turned out, I have to share just in case I can enlighten someone else!
Trick one-
I still don't know if I am sold on this trick, but I thought I would try it anyways. Instead of carving the pumpkin from the top, carve it from the bottom. That way, it is easy to place the pumpkin over the lite candle!
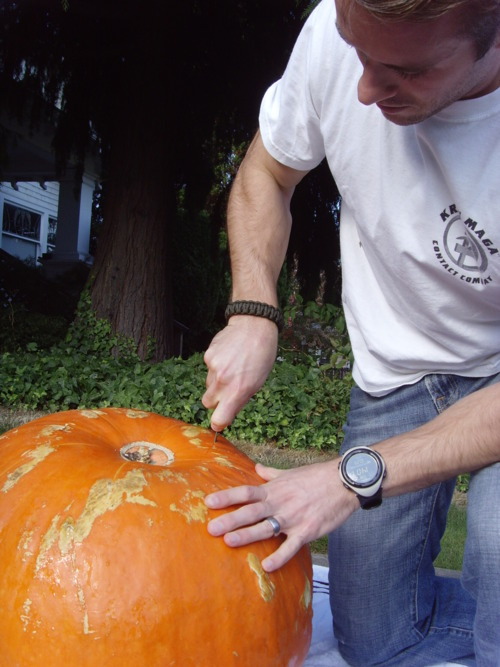
(Thank you, strong husband, for cutting through this VERY thick pumpkin!)
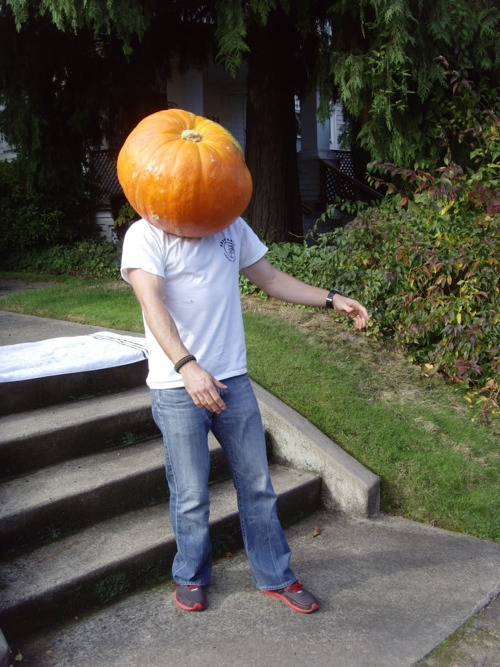
And then you place the pumpkin on your head, naturally.
TRICK 2- Pumpkin Pattern
I guess I never really thought about it but you can buy pumpkin patterns. I always free-handed my pumpkins and was amazed at the fancy pumpkins I saw on other people's porches.
1. Find a pattern- there are plenty of free patterns on the internet, or you can make your own with images you find!
2. Pin the pattern on the pumpkin and take a push pin and poke holes on the outline of your pattern.
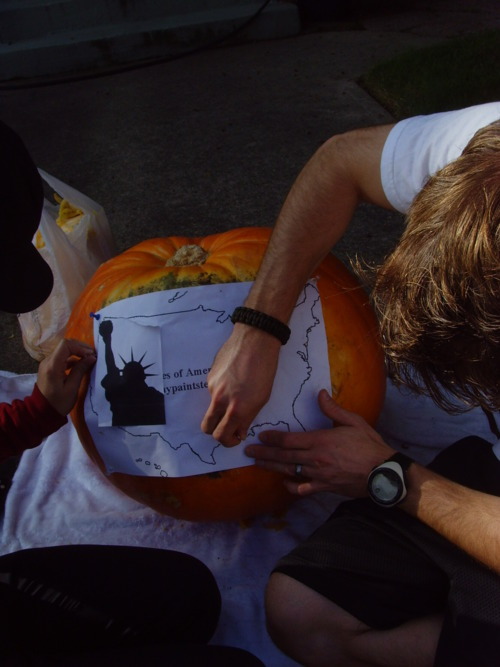
(Do you like the pattern we chose, I know, very patriotic!)
3. After you have pinned your pattern outline you take the pattern off the pumpkin and use that to carve your design!
Look at our final product!! Our beautiful pumpkin all lit up!
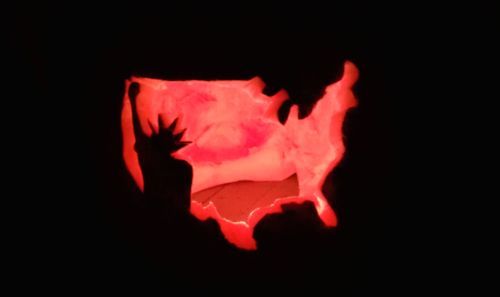
(Aren't you impressed, I am! Oh, PS- we found out the day we carved
our pumpkin it was the Statue of Liberty's 125th Birthday! Extra fun!)
No comments:
Post a Comment
So? What did you think?